Homeio latest version
Homeio 1.6 brings private remote access into the dashboard
The current Homeio release line focuses on the work that makes a home server feel complete: storage, uploads, notifications, Google Drive, richer server visibility, and Tailscale access so you can reach your dashboard from trusted devices without opening it to the public web.
Current branch version
v1.6.22
Release line
Homeio 1.6.x
Best new workflow
Tailscale remote access
What changed
Homeio 1.6 is a release for people actually running a server every day.
This is not only a visual update. The latest Homeio work improves the operational surface: fewer SSH trips, safer uploads, more storage visibility, and direct access to the apps and files that make a self-hosted home server useful.
Tailscale remote access
Homeio can now configure Tailscale from Settings, save the Tailnet and auth key securely, install the official Linux client, and show live connection state in the interface.
Google Drive in the file manager
Connect one or more Google Drive accounts, browse folders, preview files, upload, download, move, delete, and create folders without leaving the Homeio desktop.
Disk and partition manager
List block devices, inspect partitions, mount or unmount storage, format common filesystems, create or delete partitions, and require clear confirmation before destructive actions.
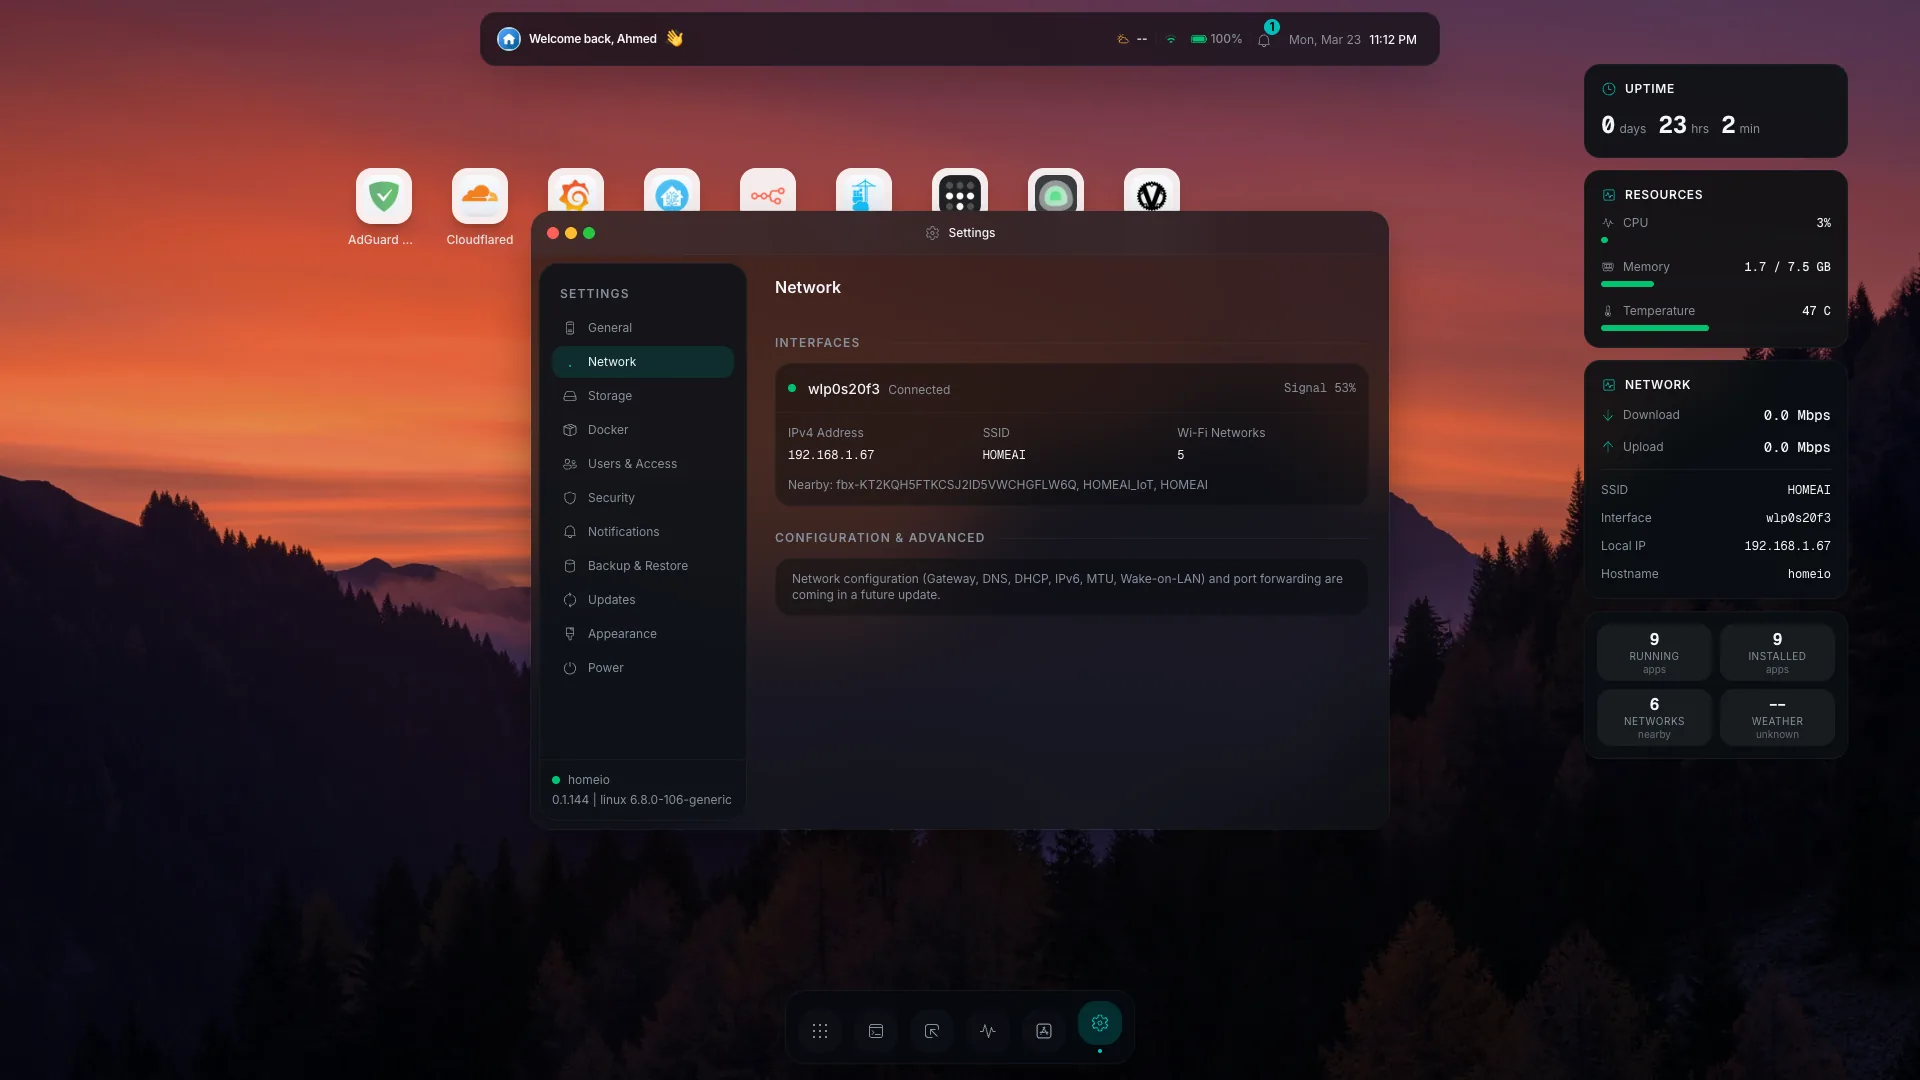
Server information dashboard
The Settings app now surfaces hostname, OS, kernel, uptime, CPU, memory, network interfaces, filesystems, and thermal readings when the host exposes them.
Safer large uploads
Large file uploads no longer depend on buffering whole files in Node. Bare-metal installs can route uploads through a Go sidecar over an nginx Unix socket.
Notifications and scheduled tasks
Homeio keeps persistent alerts for app events, container crashes, disk warnings, backup results, and task failures, with a built-in cron runner for common maintenance.
Remote access
Set up Tailscale on Homeio and access it anywhere.
The best way to reach a private home server is usually a private network, not an open router port. Homeio now makes that workflow visible: add your Tailnet and auth key, activate Tailscale, then use the server's Tailscale IP from a laptop, phone, or tablet that belongs to the same Tailnet.
Setup guide
A practical Tailscale setup flow for Homeio.
This flow is designed for a normal self-hosted setup: Homeio runs on a Linux machine at home, and you want secure access from your trusted devices while traveling or away from the local network.
Create a Tailscale auth key
Open the Tailscale admin console, create an auth key for the Tailnet, and keep it available for the Homeio setup screen.
Open Homeio Settings
Go to Settings, then Integrations, and find the Tailscale block. Enter the Tailnet name and the auth key.
Save or activate
Use Save auth key if you want to store credentials first, or Install and activate to install the official client, enable tailscaled, and run tailscale up from the UI.
Check the live status
Homeio polls tailscale status --json and reports whether the CLI is installed, the service is running, the TUN device exists, and which Tailscale IP the machine received.
Use the Tailscale IP everywhere
Once connected, open Homeio from another trusted device on your Tailnet with the Tailscale IP or MagicDNS name instead of exposing the dashboard to the public internet.
Why this is better for SEO and better for real users.
People search for practical phrases such as "access home server anywhere", "Tailscale home server", and "remote access self-hosted dashboard" because they are trying to solve a concrete problem. Homeio now answers that problem inside the product: install the dashboard, connect Tailscale, and reach the same app store, file manager, terminal, settings, and monitoring views from trusted devices.
What Homeio runs for activation
If Tailscale is missing, Homeio downloads the official Linux installer, enables the tailscaled systemd service, and activates with your auth key. Status comes from tailscale status JSON, so the UI can show connection state instead of guessing.
Security checklist
Remote access should stay private by default.
FAQ
Questions before updating or opening remote access.
What is the latest Homeio version?
The referenced Homeio repository is on the 1.6.x release line, with package version 1.6.22 in the current branch. The 1.6 work focuses on Tailscale, Google Drive, disk management, server information, safer uploads, and visual polish.
Can I access Homeio from anywhere with Tailscale?
Yes. Once the Homeio server is connected to your Tailnet, trusted devices on that Tailnet can reach it through the Tailscale IP or MagicDNS name. That gives you private remote access without opening a public router port.
Do I need to install Tailscale manually first?
No for the normal bare-metal flow. Homeio can install the official Tailscale Linux client, enable tailscaled, and run activation from the Settings UI. If the host is a restricted container, you may need to expose /dev/net/tun first.