
What a home server is, and what it is for
A home server is a computer that stays on and runs services for your household: a photo library that backs up your phone, a media server for your films, an ad blocker for the whole network, a password manager, shared folders. You reach those services from a browser or an app, at home and, if you set it up, from anywhere.
It does not have to be special hardware, and it does not have to be expensive. Most first home servers are a used office mini PC or an old desktop running Linux. What matters more than the hardware is a setup you can keep running: known addresses, apps you can update, and backups you have tested. This guide goes in the order that gets you there, and each step ends with something that works.
Budget a weekend for steps 1 to 6, and an evening for backups. You will need the machine, a USB stick of 8 GB or more for the installer, an Ethernet cable, and a keyboard and screen for the install only.
Step 1: Pick the hardware
Pick for low idle power, enough RAM, and an SSD. A home server spends most of its life waiting, so what it draws at idle decides your electricity bill far more than its peak.
- Used office mini PC (Lenovo ThinkCentre Tiny, HP EliteDesk Mini, Dell OptiPlex Micro). Quiet, small, cheap second-hand, and easy to upgrade. The usual first server, with room for one internal drive.
- New Intel N100 or N150 mini PC. Low idle power, and Intel Quick Sync handles video transcoding for Jellyfin or Plex without breaking a sweat. Pick a model with 16 GB of RAM or a free slot to add it.
- An old desktop or laptop you already own. Free, and fine to learn on. A desktop has room for several hard drives; it will also draw more power. A laptop has a built-in battery that rides out short power cuts.
- Raspberry Pi 5. Tiny and very low power. Use the 8 GB model or larger, and boot from an NVMe SSD or a USB SSD rather than a microSD card, which wears out under constant database writes. Most popular apps publish ARM images; some heavier ones do not.
- A NAS with Docker support. Good if storage is the main job. Check how much RAM it has before you plan to run photo apps on it.
For RAM, 8 GB runs five to ten typical apps comfortably; 16 GB leaves room for Immich's machine learning, Nextcloud and a few transcodes at once. Put the operating system and app data on an SSD, and big media libraries on hard drives. Use wired Ethernet: streaming and backups are the first things to suffer on Wi-Fi.
What it costs to run
The running cost is almost all electricity. To estimate it, multiply the average watts by 8.76 to get kilowatt-hours per year, then multiply by your price per kWh.
- A mini PC idling around 10 W with one hard drive adding about 5 W averages roughly 15 W: about 131 kWh a year, or about $26 at $0.20 per kWh.
- An old desktop tower that idles at 40 W or more costs about three times that, before you add drives.
- A Raspberry Pi 5 with an SSD is lower still.
Measure yours with a plug-in power meter after a day of normal use rather than trusting a spec sheet. Hardware prices move too much to quote here; check current second-hand listings. If you want to compare the total against a cloud storage plan over five years, our self-hosting vs cloud storage guide walks through the maths.
Step 2: Choose and install the operating system
For a first server, install Debian stable or the current Ubuntu Server LTS on a PC, or Raspberry Pi OS Lite (64-bit) on a Pi. All three are well documented, supported by Docker, and assumed by nearly every tutorial you will read. Skip the desktop environment; you will manage the server from another computer.
There are also dedicated home server operating systems, such as TrueNAS for storage, Unraid for mixed drives, Proxmox for virtual machines, or umbrelOS for an all-in-one app store. They make sense for specific jobs, and our comparison of home server operating systems explains which job each one is for. If you are unsure, start with plain Linux: everything you learn on it transfers.
- 1.Download the installer image from the distribution's own website. For a Pi, use Raspberry Pi Imager, which can also preset your username, Wi-Fi and SSH.
- 2.Write it to the USB stick with Raspberry Pi Imager, balenaEtcher or Rufus, and boot the server from it.
- 3.Install to the SSD. When asked for software, choose only the SSH server and standard system utilities.
- 4.Create a normal user with a strong password. You will use
sudofor admin tasks. - 5.Reboot, remove the USB stick, and note the IP address shown on the login screen, or run
ip ato find it.
Step 3: Give it a fixed address and log in over SSH
In your router's settings, find the list of connected devices and create a DHCP reservation for the server, so it always gets the same IP. Every bookmark and app setting will point at that address, so do this before anything else.
From now on, work from your usual computer. Create an SSH key there if you do not have one, copy it to the server, and log in without a password:
ssh-keygen -t ed25519
ssh-copy-id you@192.168.1.50
ssh you@192.168.1.50
Replace you and the address with yours. Then turn on automatic security updates, so the server patches itself while you get on with your life. On Debian and Ubuntu:
sudo apt update && sudo apt full-upgrade -y
sudo apt install -y unattended-upgrades
sudo dpkg-reconfigure -plow unattended-upgrades
Step 4: Install Docker
Almost every self-hosted app ships as a Docker image. Docker keeps each app and its dependencies in its own container, so apps do not fight over versions, and removing one leaves nothing behind. Docker Compose describes an app in one file you can keep, copy and back up.
curl -fsSL https://get.docker.com -o get-docker.sh
sudo sh get-docker.sh
sudo usermod -aG docker $USER
Log out and back in, then run docker run hello-world to check it works. Our Docker home server guide goes further: a folder layout that makes backups easy, your first Compose stack, networking, and updates.
Step 5: Add a dashboard, if you want one
You can run everything from the command line, and it is worth knowing how. But beginners tend to lose track of what is running, which port each app uses, and why a disk is filling up. A dashboard puts that in one browser tab.
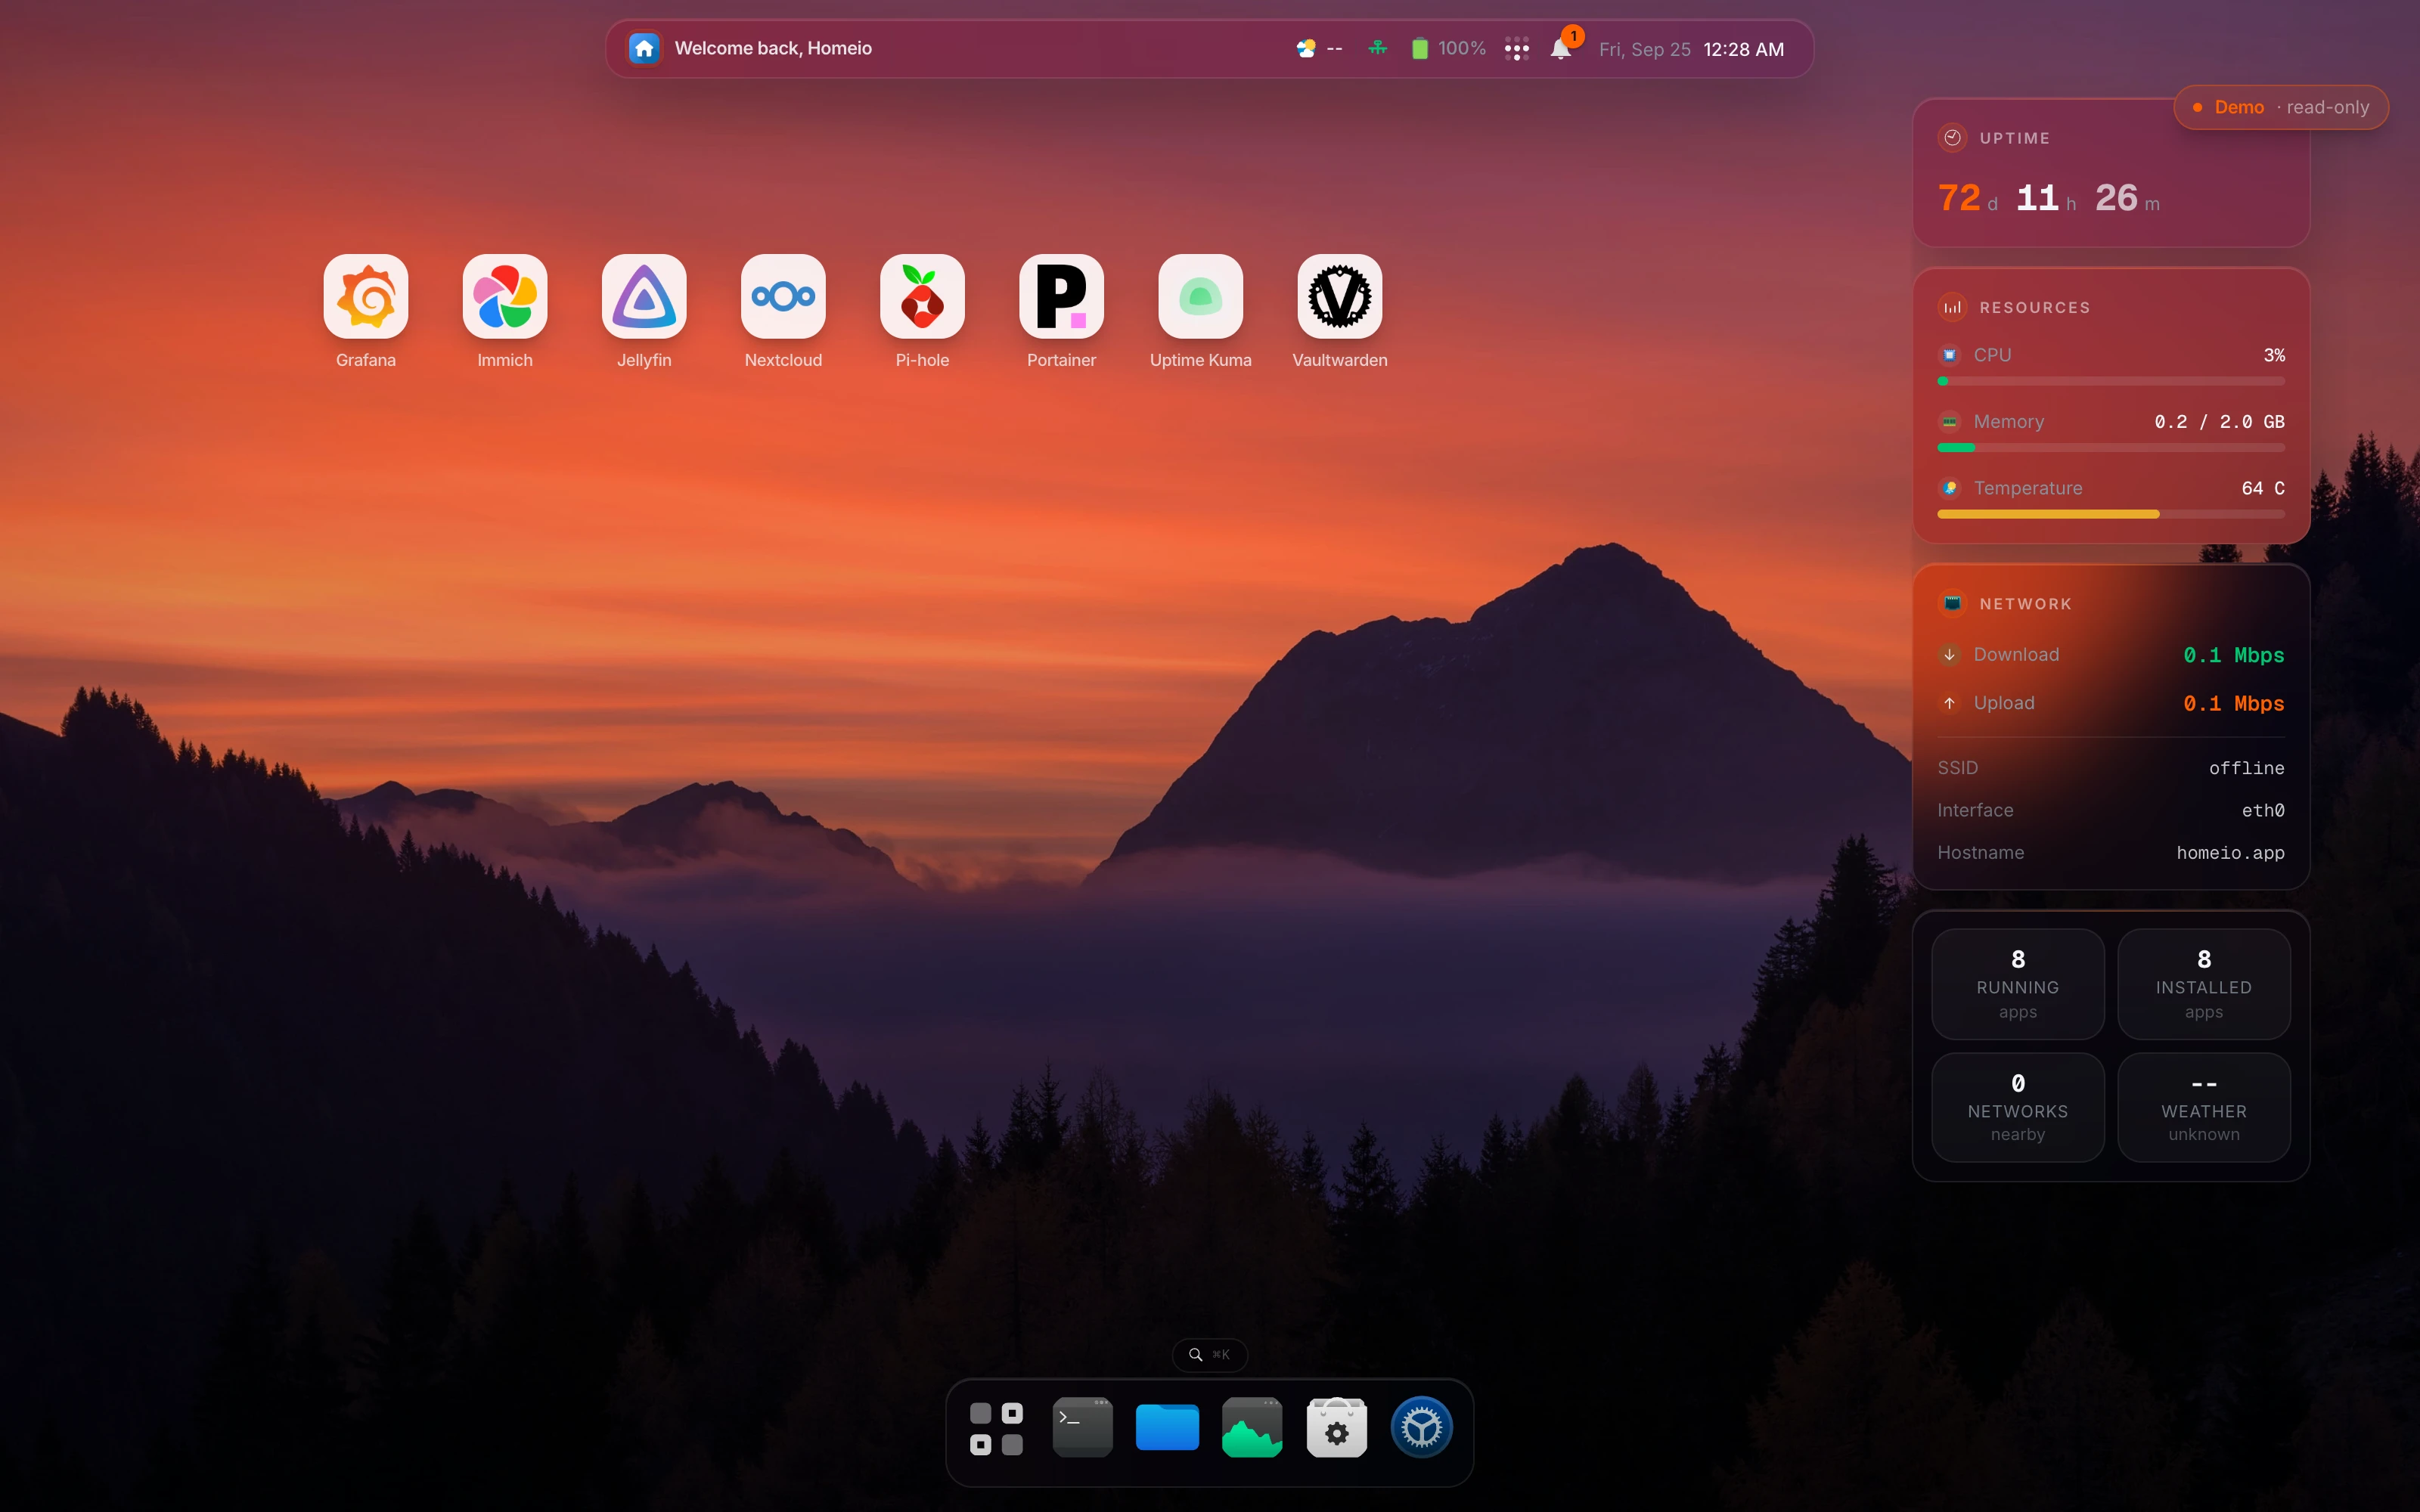
Homeio, the project behind this site, is one option. It installs on Debian, Ubuntu or Raspberry Pi OS with one command, and gives you an app store, a file manager, disk tools, scheduled tasks, backups and live CPU, memory and disk use in a desktop-style interface:
curl -fsSL https://get.homeio.app | sudo bashOpen the server's address in a browser and create your account; registration closes after the first one. Apps you install from it are ordinary Docker Compose stacks, so you can still manage them by hand. Other dashboards exist too; our home server OS comparison covers CasaOS, Runtipi and Cosmos. Try the live demo before installing anything.
Step 6: Install your first three apps
Start with two or three apps that solve a real problem for you, and live with them for a week before adding more. Each new app is one more thing to update and back up. Good first choices:
- Pi-hole or AdGuard Home blocks ads and trackers for every device on the network. Small, and it teaches you about DNS.
- Immich backs up the photos from your phone, with face recognition and search. The most common reason people build a home server. Give it 4 GB of RAM or more.
- Jellyfin streams your own films and shows to TVs and phones, with no account and no subscription.
- Vaultwarden is a lightweight server for the Bitwarden password manager apps.
- Nextcloud or Syncthing for files: Nextcloud if you want a Google Drive-style web app, Syncthing if you just want folders kept in sync between devices.
After each install, check memory and disk use, and write down the port and where its data lives. Our list of the best self-hosted apps has more ideas by category.
Step 7: Reach it from outside your home, safely
Do not forward ports on your router to your server's admin pages. Anything you open to the internet gets scanned within hours. Use a private network instead: Tailscale connects your phone and laptop to the server over an encrypted link, with no open ports, and is free for personal use.
curl -fsSL https://tailscale.com/install.sh | sh
sudo tailscale up
Install the Tailscale app on your phone, sign in with the same account, and your server's apps work away from home as if you were on your Wi-Fi. When you later want to share one app with people outside your network, a Cloudflare Tunnel publishes that single app on a domain without opening ports. Homeio has both in its Settings. Our web terminal and SSH guide covers remote shell access in more detail.
Step 8: Set up backups before the photos arrive
The first time a home server loses data is usually the first time its owner thinks about backups. Decide where copies go before you move a photo library onto it.
- Follow 3-2-1: three copies of your data, on two different kinds of storage, with one copy off-site.
- Back up app data and Compose files, not only media. The database behind your photo library matters as much as the photos.
- A second drive in the same box protects against a dead drive, not against theft, fire, a power surge or a mistaken delete. RAID is not a backup for the same reason.
- For the off-site copy, use an encrypted backup tool such as restic, Borg or Kopia to a drive at a relative's house or a cloud storage bucket.
- Restore one file on purpose every few months, so you know the backup works before you need it.
Homeio's built-in backup archives its database, everything under /DATA and your Compose stacks on a weekly schedule. It lives on the same disk, so it protects you from a bad update, not a dead drive: copy the archives somewhere else.
Step 9: Keep it running
A home server needs about half an hour a month once it is set up. Put these on a calendar:
- Update apps one at a time, and read the release notes of anything that holds your data. Pin major versions of databases rather than always pulling
latest. - Check free disk space. Docker images and logs grow quietly;
docker system dfshows where the space went. - Check that last week's backup exists and that one file restores.
- Reboot after kernel updates, at a time that suits you.
A small UPS (battery backup) is worth it once the server holds anything important: it rides out short power cuts and gives the machine time to shut down cleanly during long ones. Our guide to managing Docker containers covers logs, restarts and cleanup when something does go wrong.
Beginner mistakes worth skipping
- Installing twenty apps on the first day. You will not know which one is eating your RAM.
- Running a Raspberry Pi from a microSD card. It works for weeks, then corrupts.
- Skipping the DHCP reservation, then chasing a server whose address changed after a router reboot.
- Forwarding ports to reach apps from outside instead of using Tailscale or a tunnel.
- Keeping app data in anonymous Docker volumes you forget to back up. Use folders you chose.
- Treating RAID or a second internal disk as a backup.
- Buying a rack server. It is loud, power-hungry and more than a first home server needs.
Your first-weekend checklist
- 1.Machine with an SSD, 8 GB of RAM or more, on wired Ethernet.
- 2.Debian, Ubuntu Server or Raspberry Pi OS Lite installed, with only SSH.
- 3.DHCP reservation set in the router.
- 4.SSH key login working, automatic security updates on.
- 5.Docker installed and
hello-worldruns. - 6.A dashboard installed, if you want one.
- 7.Two or three apps running, with ports and data folders written down.
- 8.Tailscale set up on the server and your phone.
- 9.A backup running, with one copy off the machine, and one test restore done.